Rebecca - Chester Drawer Refurbishing
I picked up a free chester drawer from a coworker, Rebecca, that my parents and I will refurbish.
The end goal will be to sell it for a profit via my mom's company, Jackie and Jewels.
Note: I will include the cost of items purchased for this project, but not the cost of tools and materials we already own or aquired during previous projects.
Step by Step
-
1 Acquiring The Chester Drawer
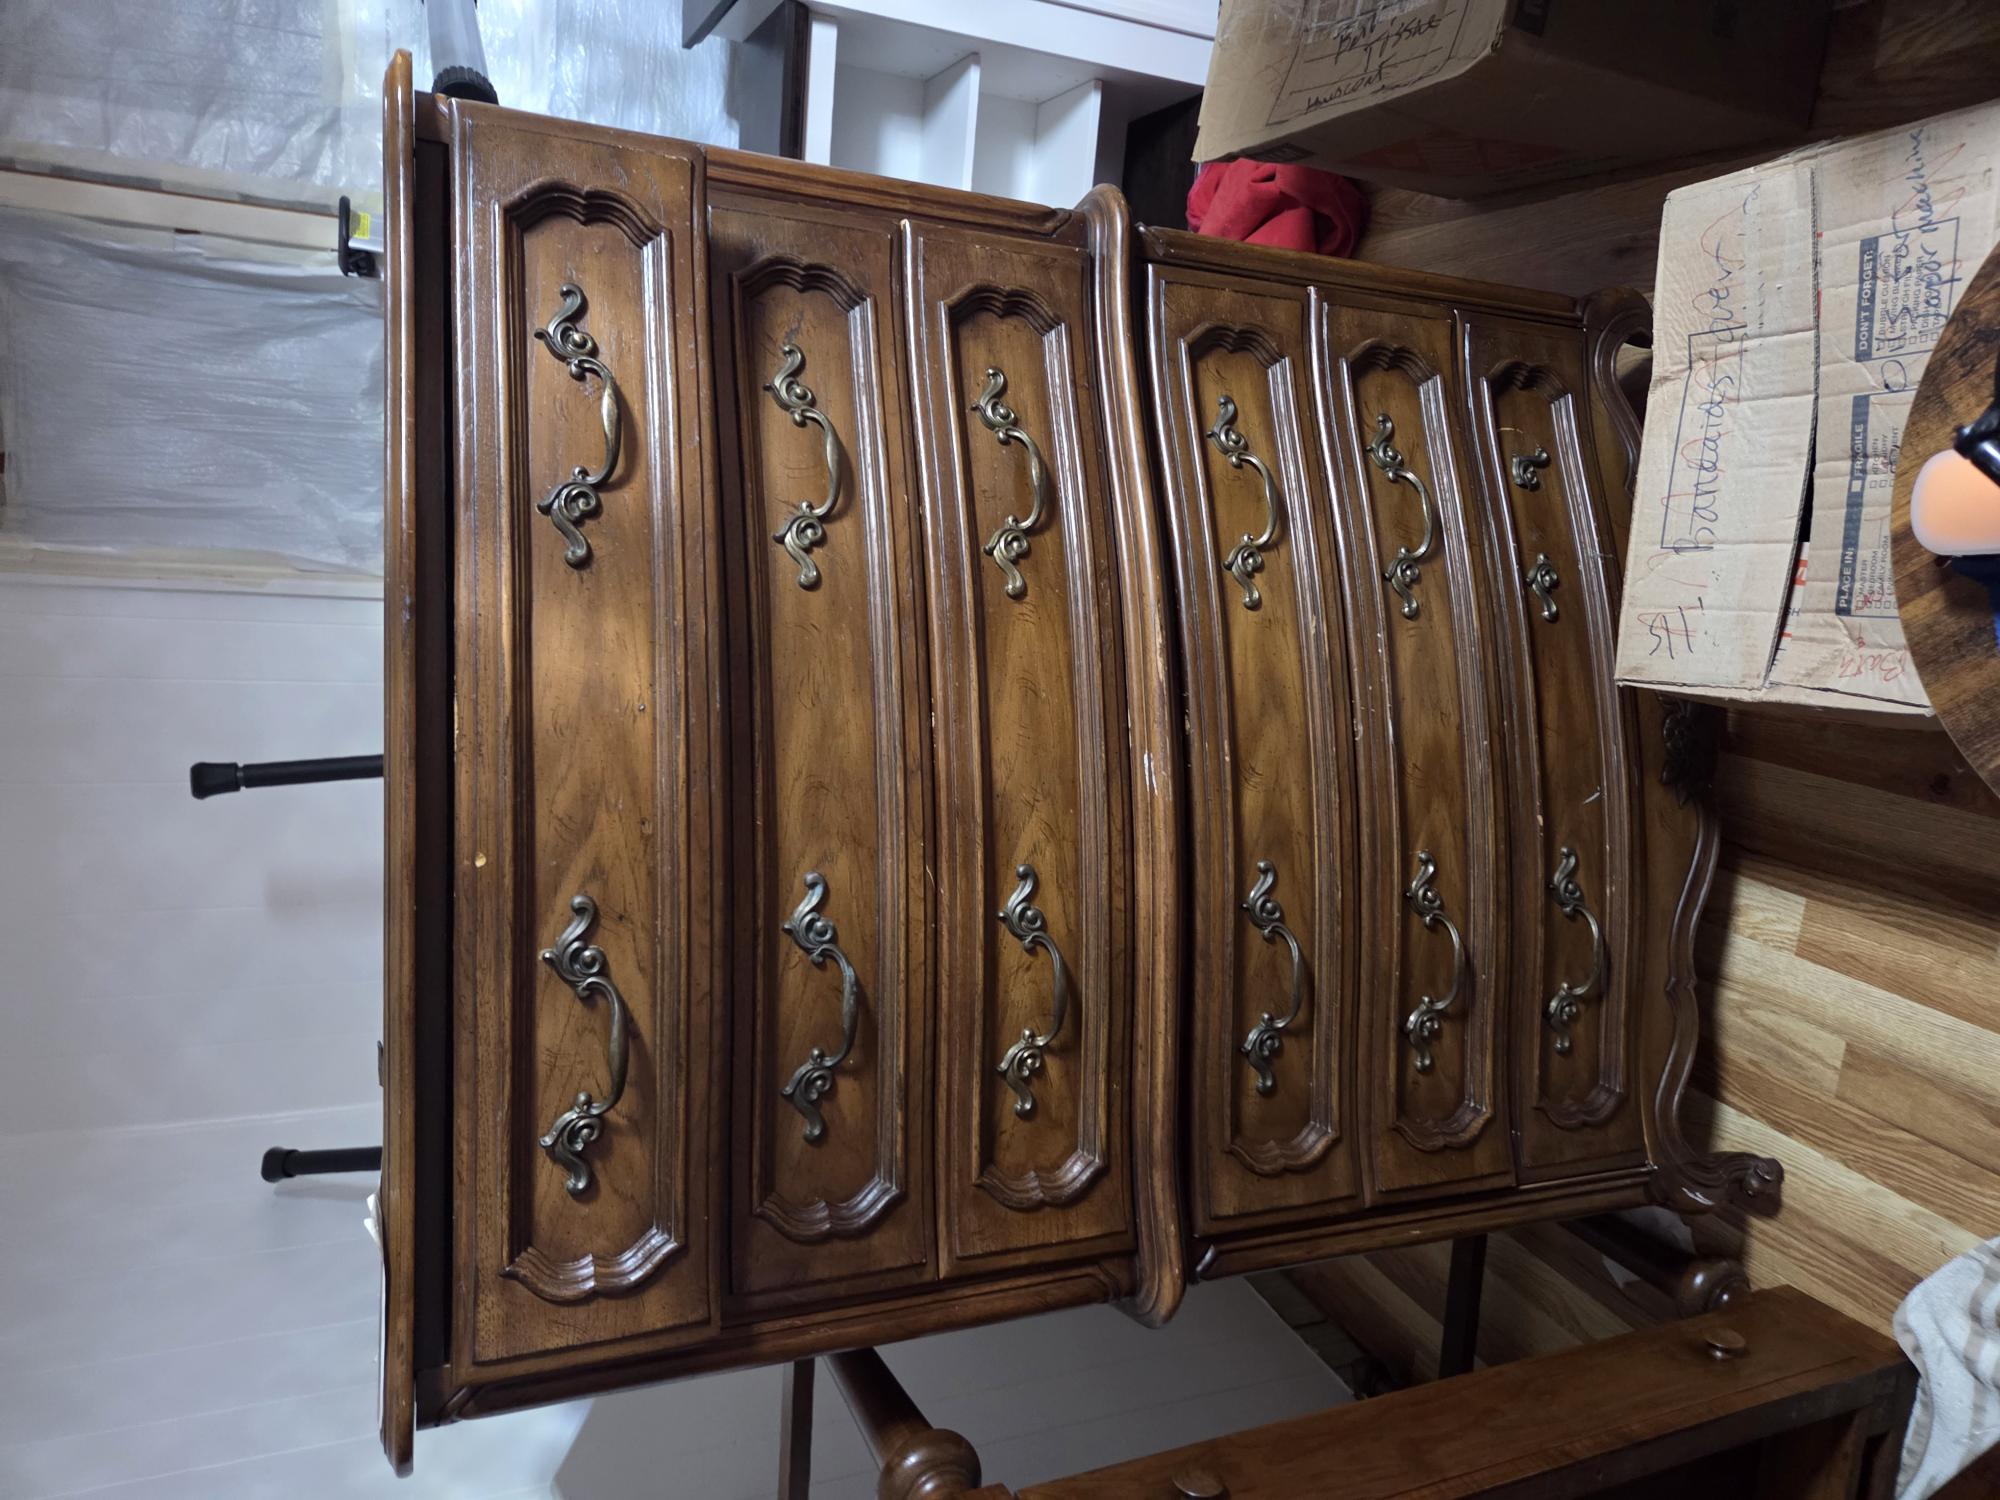
The first step was to pick up the chester drawer from my coworker's house. She had been trying to sell it for $60 in its original condition but had no buyers.
One day, we were talking and I explained what my parents and I have been doing in our free time. She mentioned that she had this chester drawer that no one was buying, and if we pick it up, we could have it for free.
So, my dad and I, after going to our local gun range, swung by to pick it up.
Cost of chester drawer: $0
-
2 Second Step Title
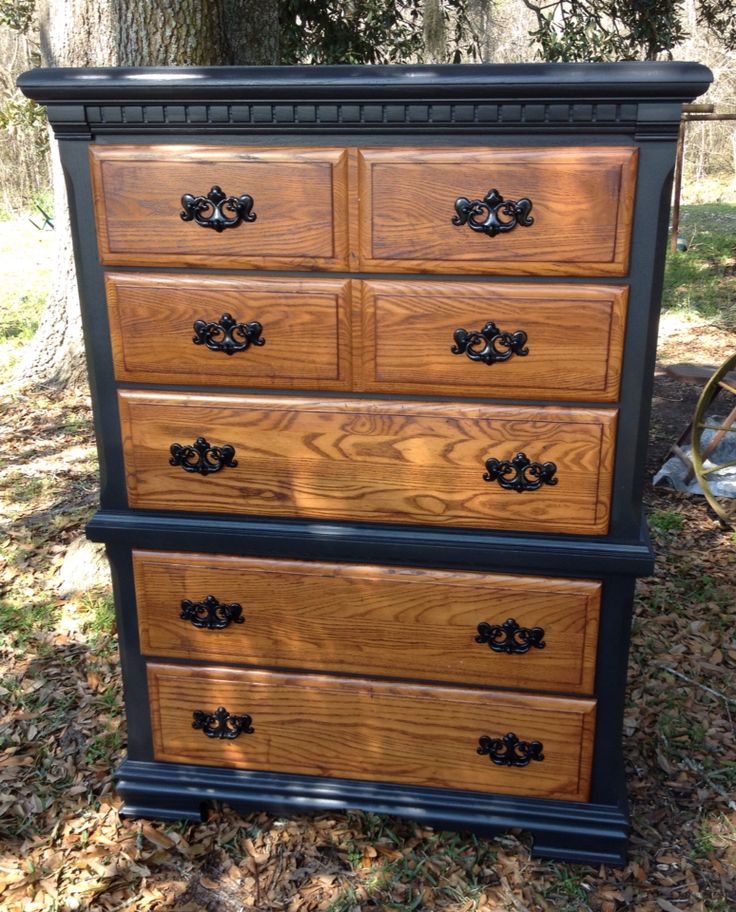
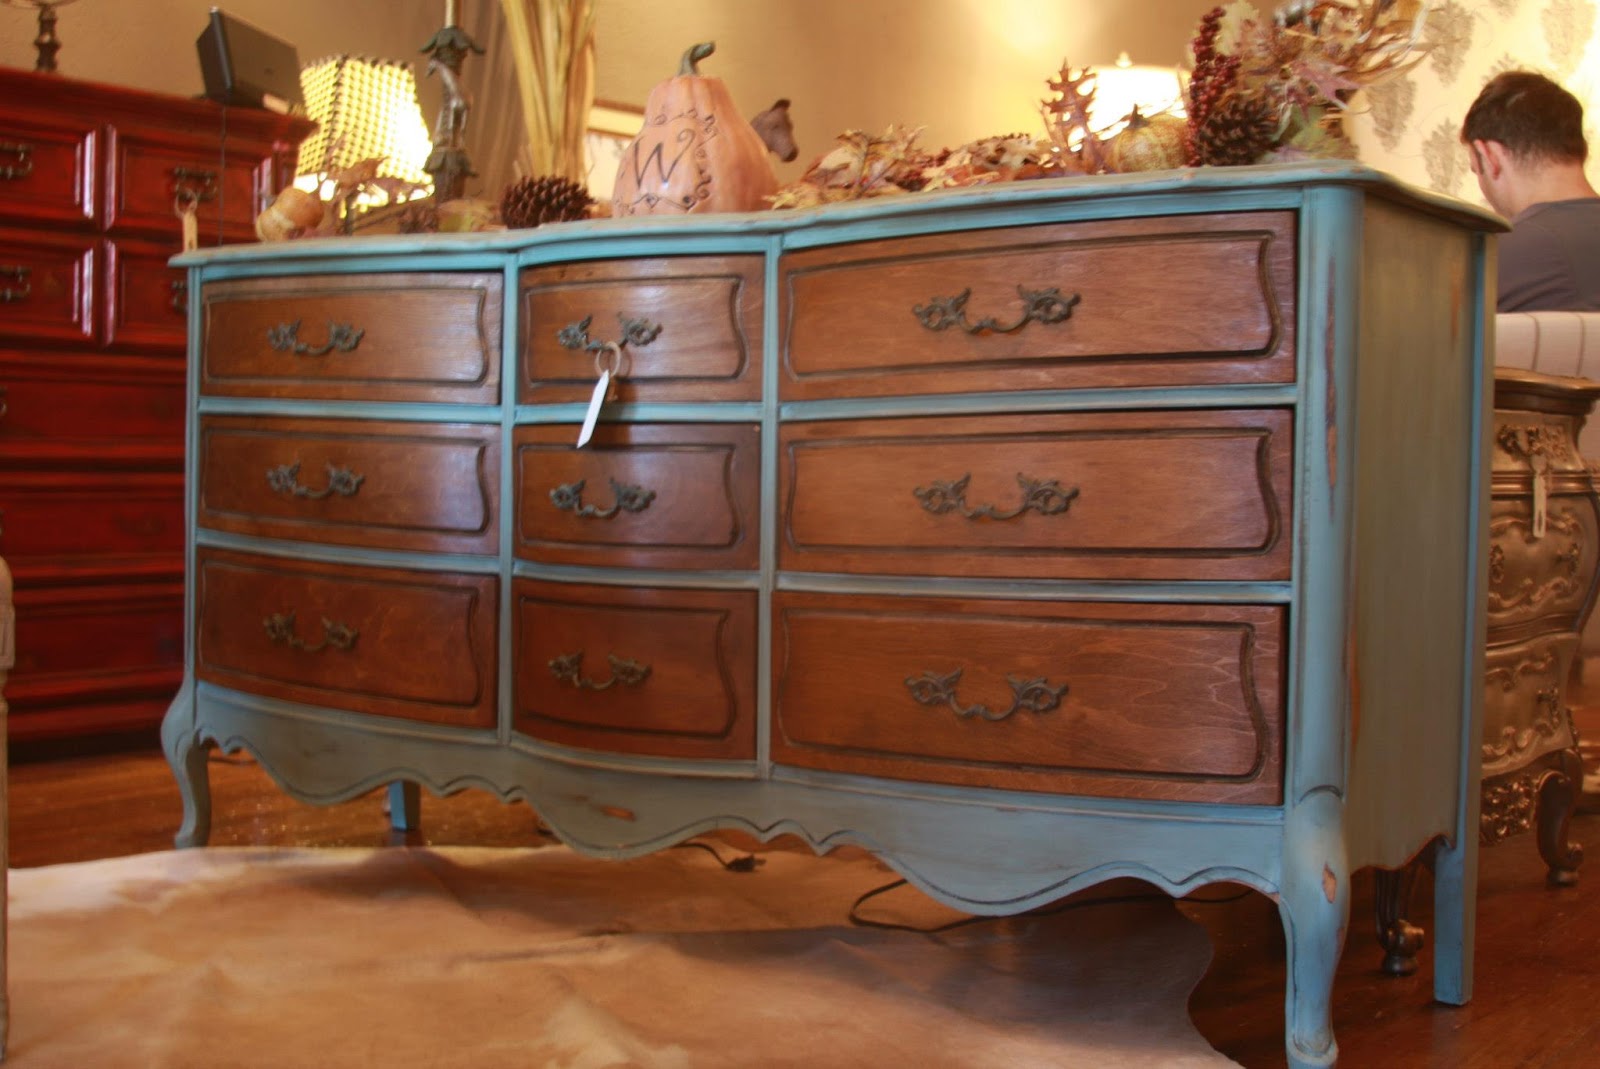
For the beginning of this project, I first looked up some other refurbishings on the internet to get an idea for how I wanted to refurbish my new, old, chester drawer.
So, I put "chester drawer refurbishing" into my search engine, went to images, then browsed for ideas until something stood out to me. Since I am fairly new to this, I wanted to mimic the design of someone else (as they say mimicry is a form of flattery so do not blame me).After viewing a few refurbishings, I settled on the idea of painting the our parts of the chester drawer but stain the wooden drawers. This would give it a mix of a modern and a classic style.
-
3 Sanding & Paint Removal
Now that we brought the chester drawer into our shop, the first step of the refurbishing process is to remove the stain or paint from the chester drawer and to restore any blimishes that are noticeable to the eye.
I started by filling in the top of the chester drawer with wood filler. Filling in any gaps or chips, besides one massive chunk that was a glaring issue.
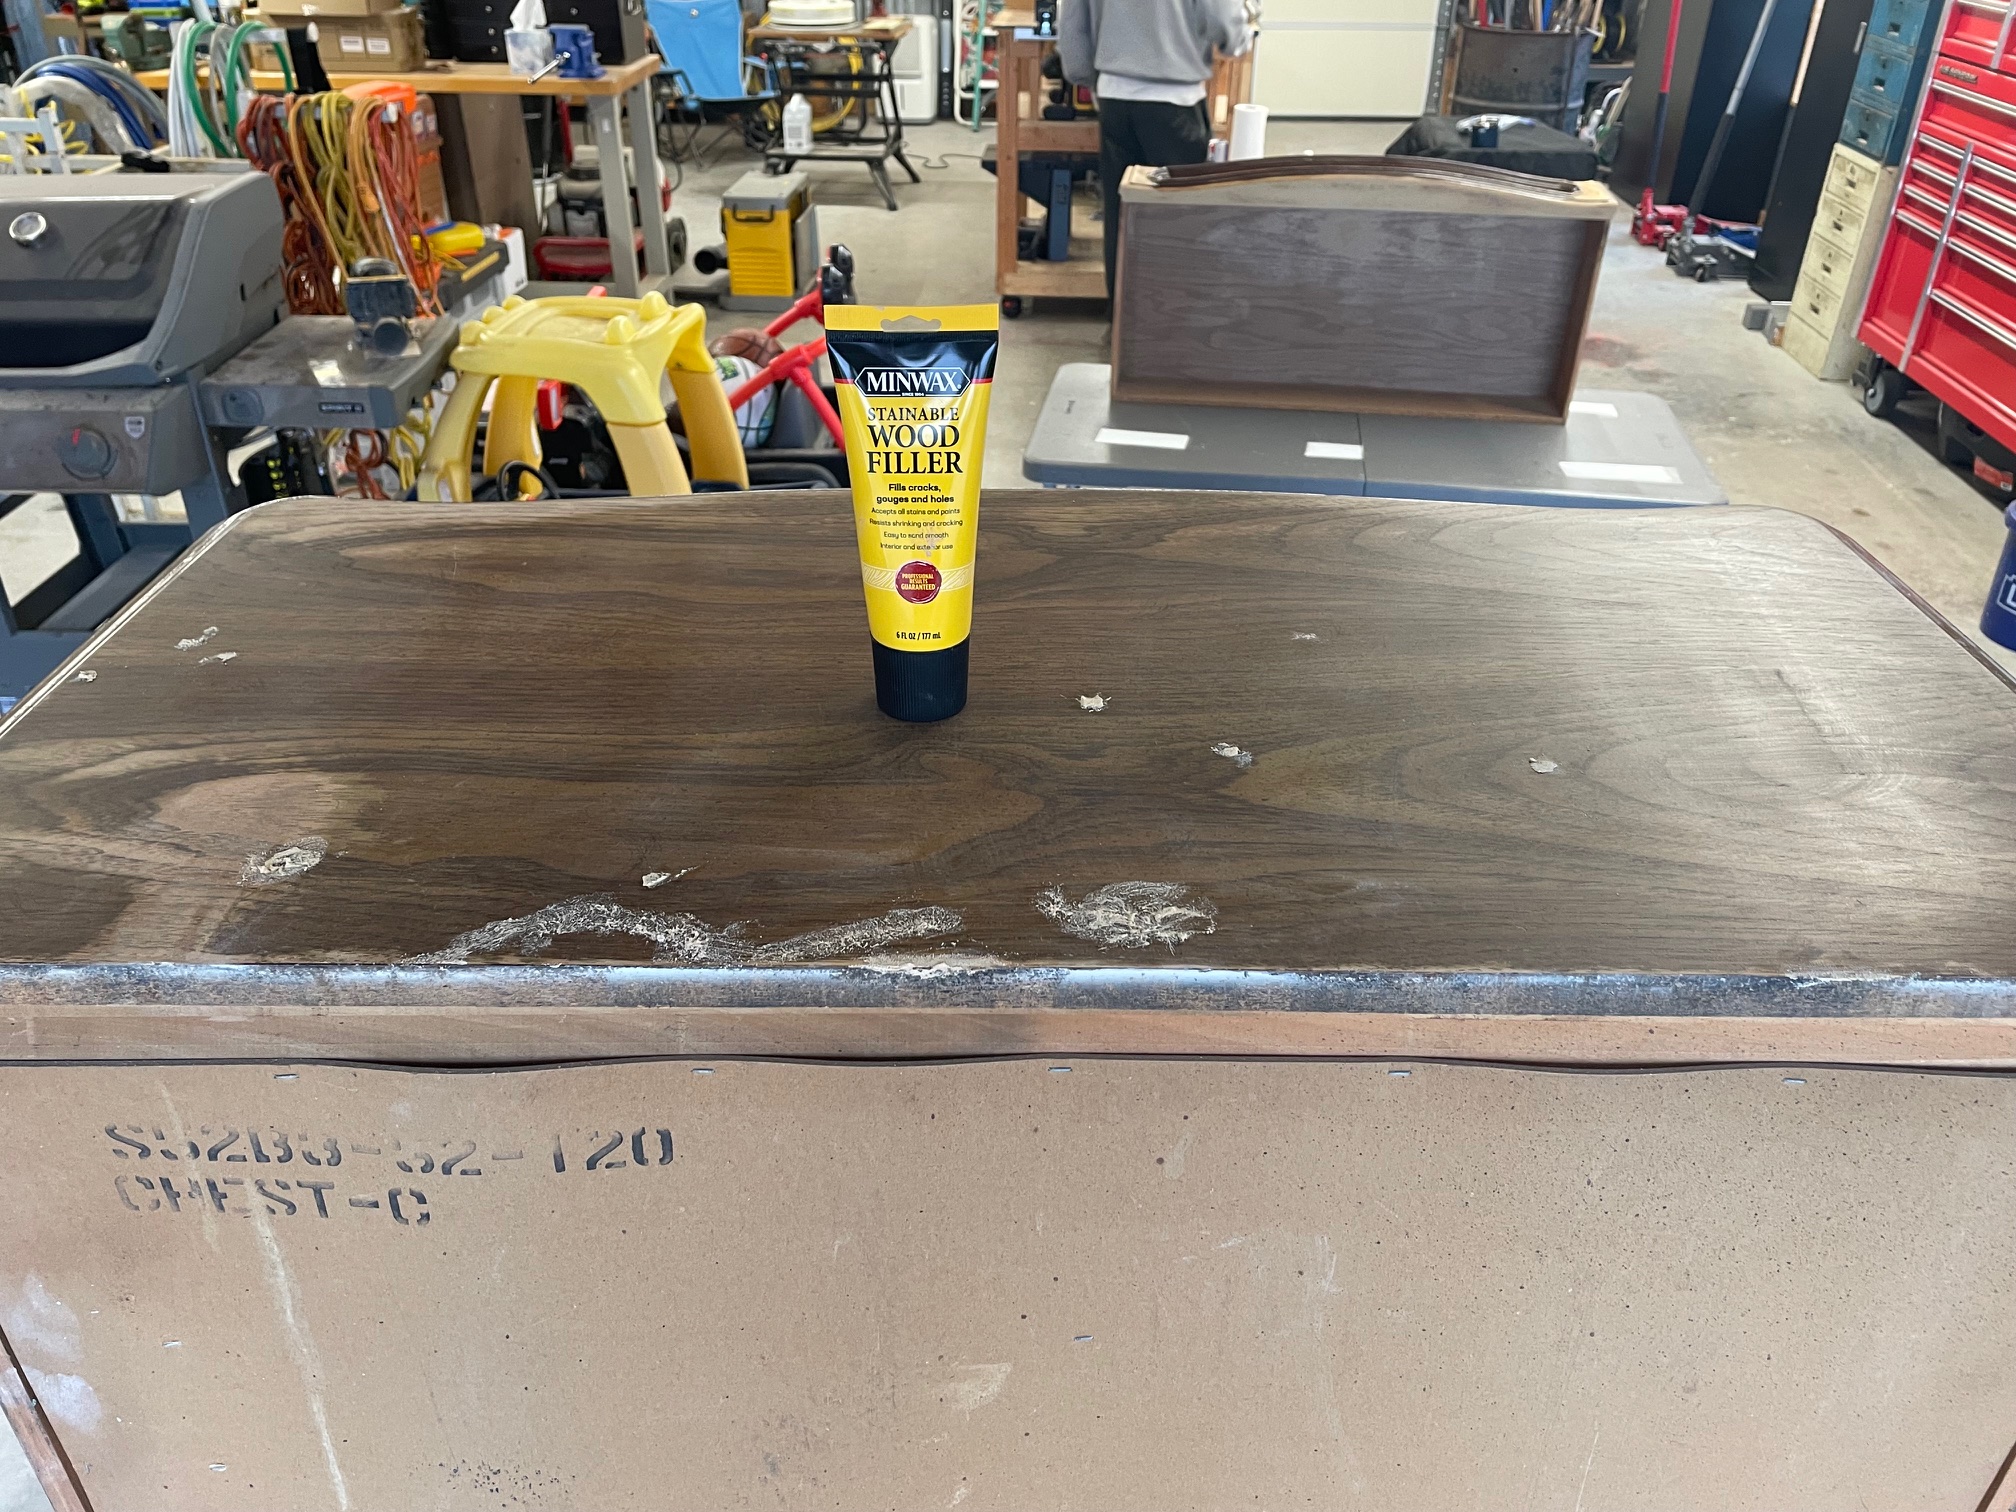
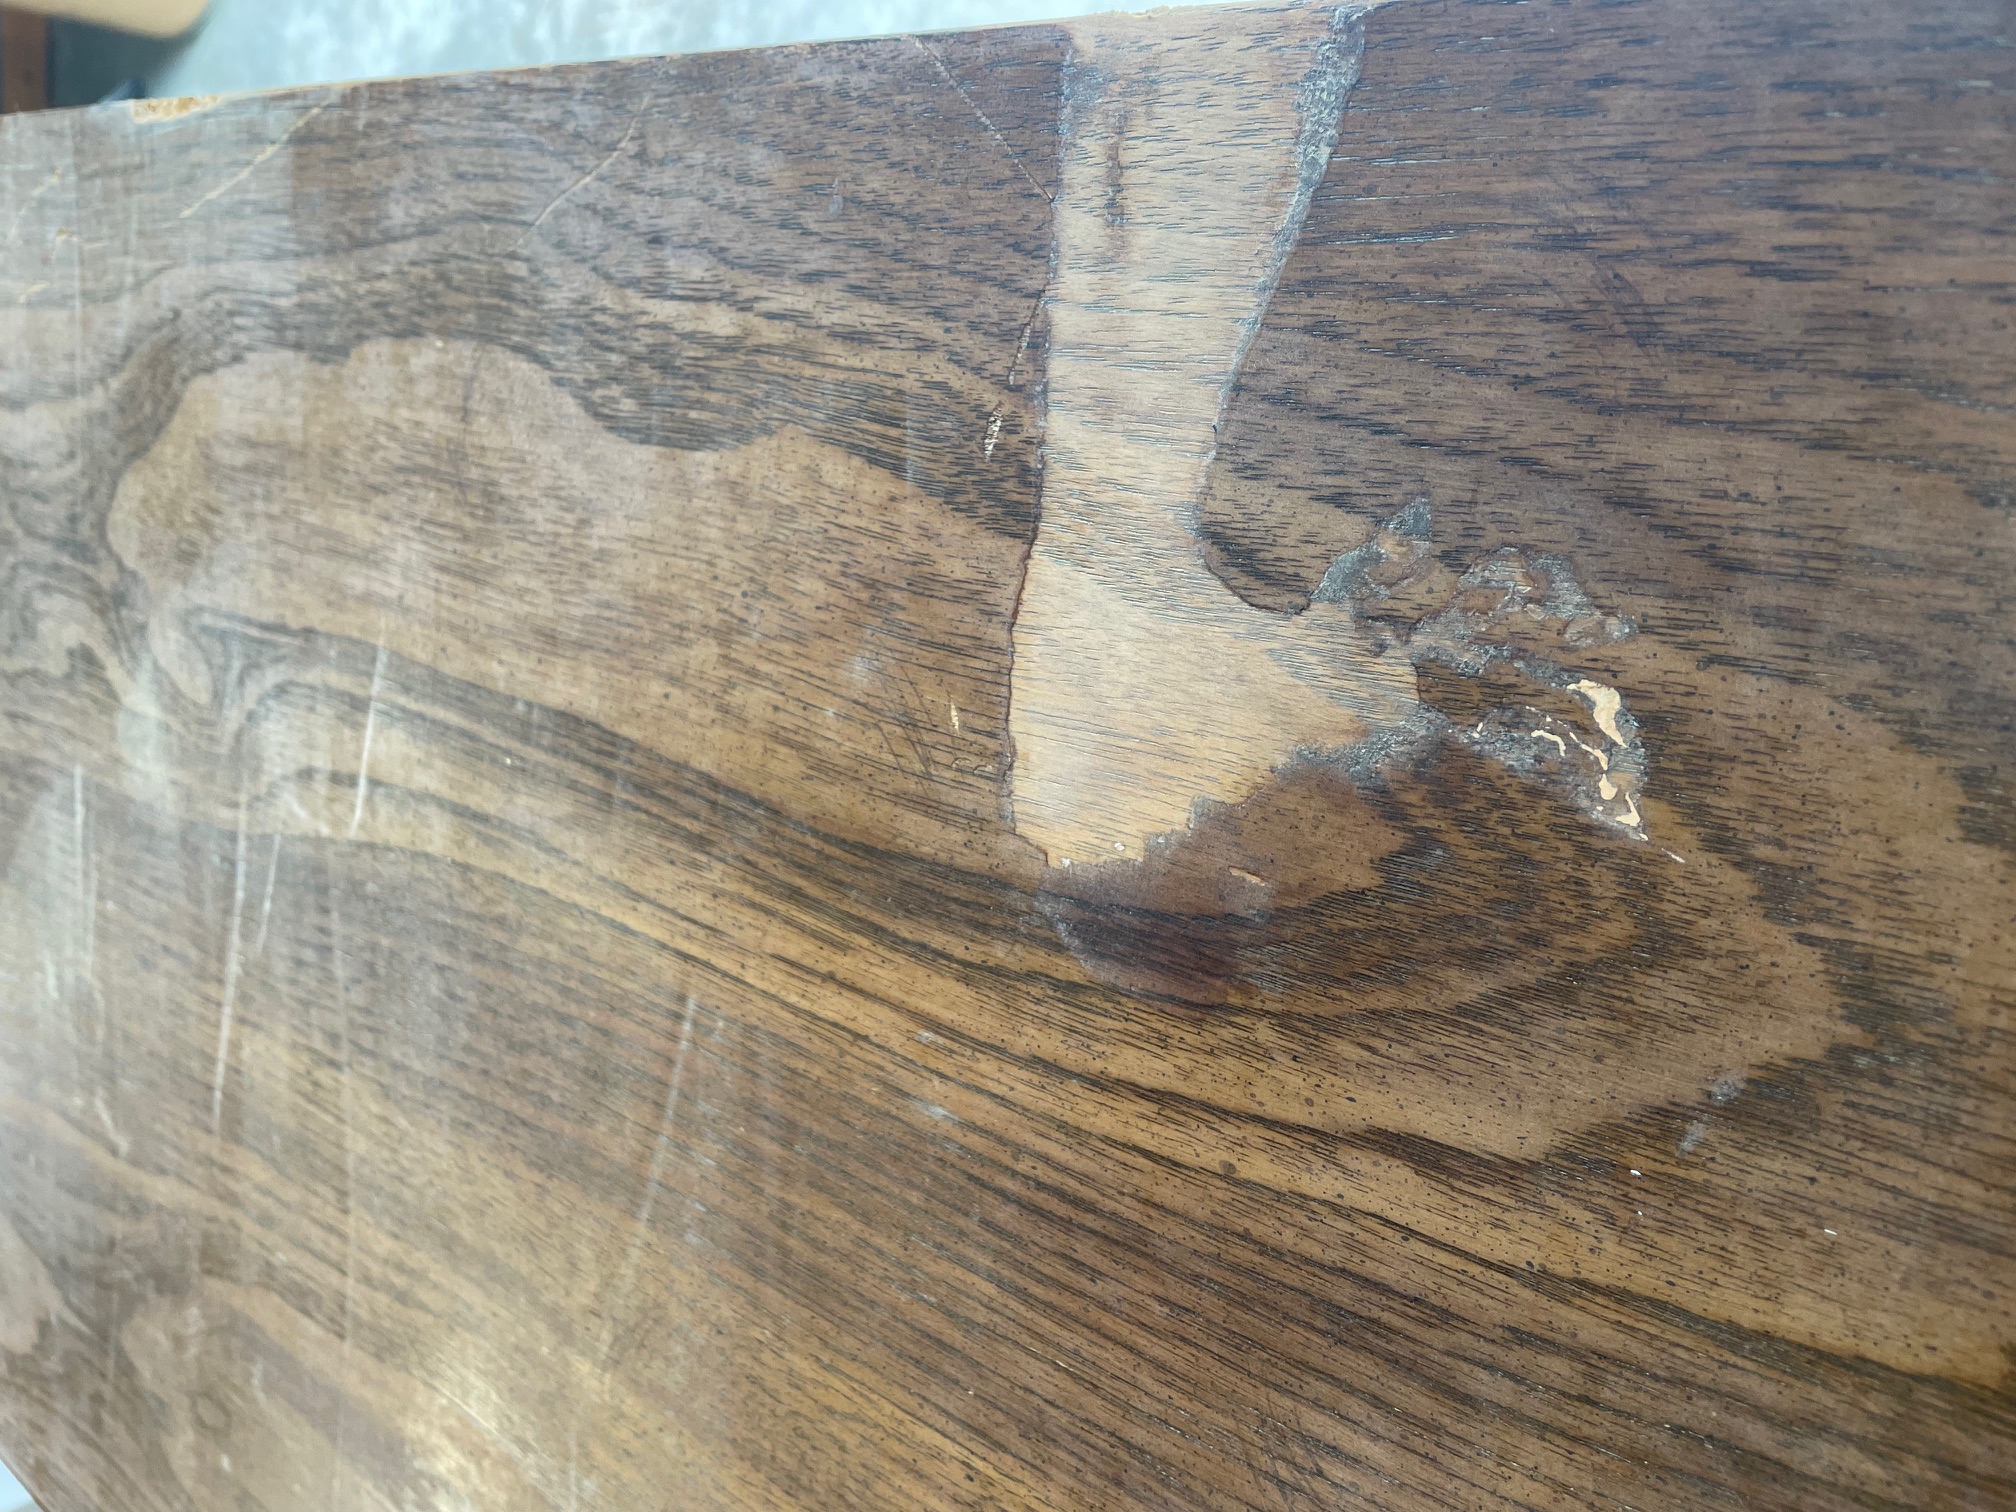
I then sanded the top of the chester drawer to remove the wood filler and to even the top surface with the chipped section.

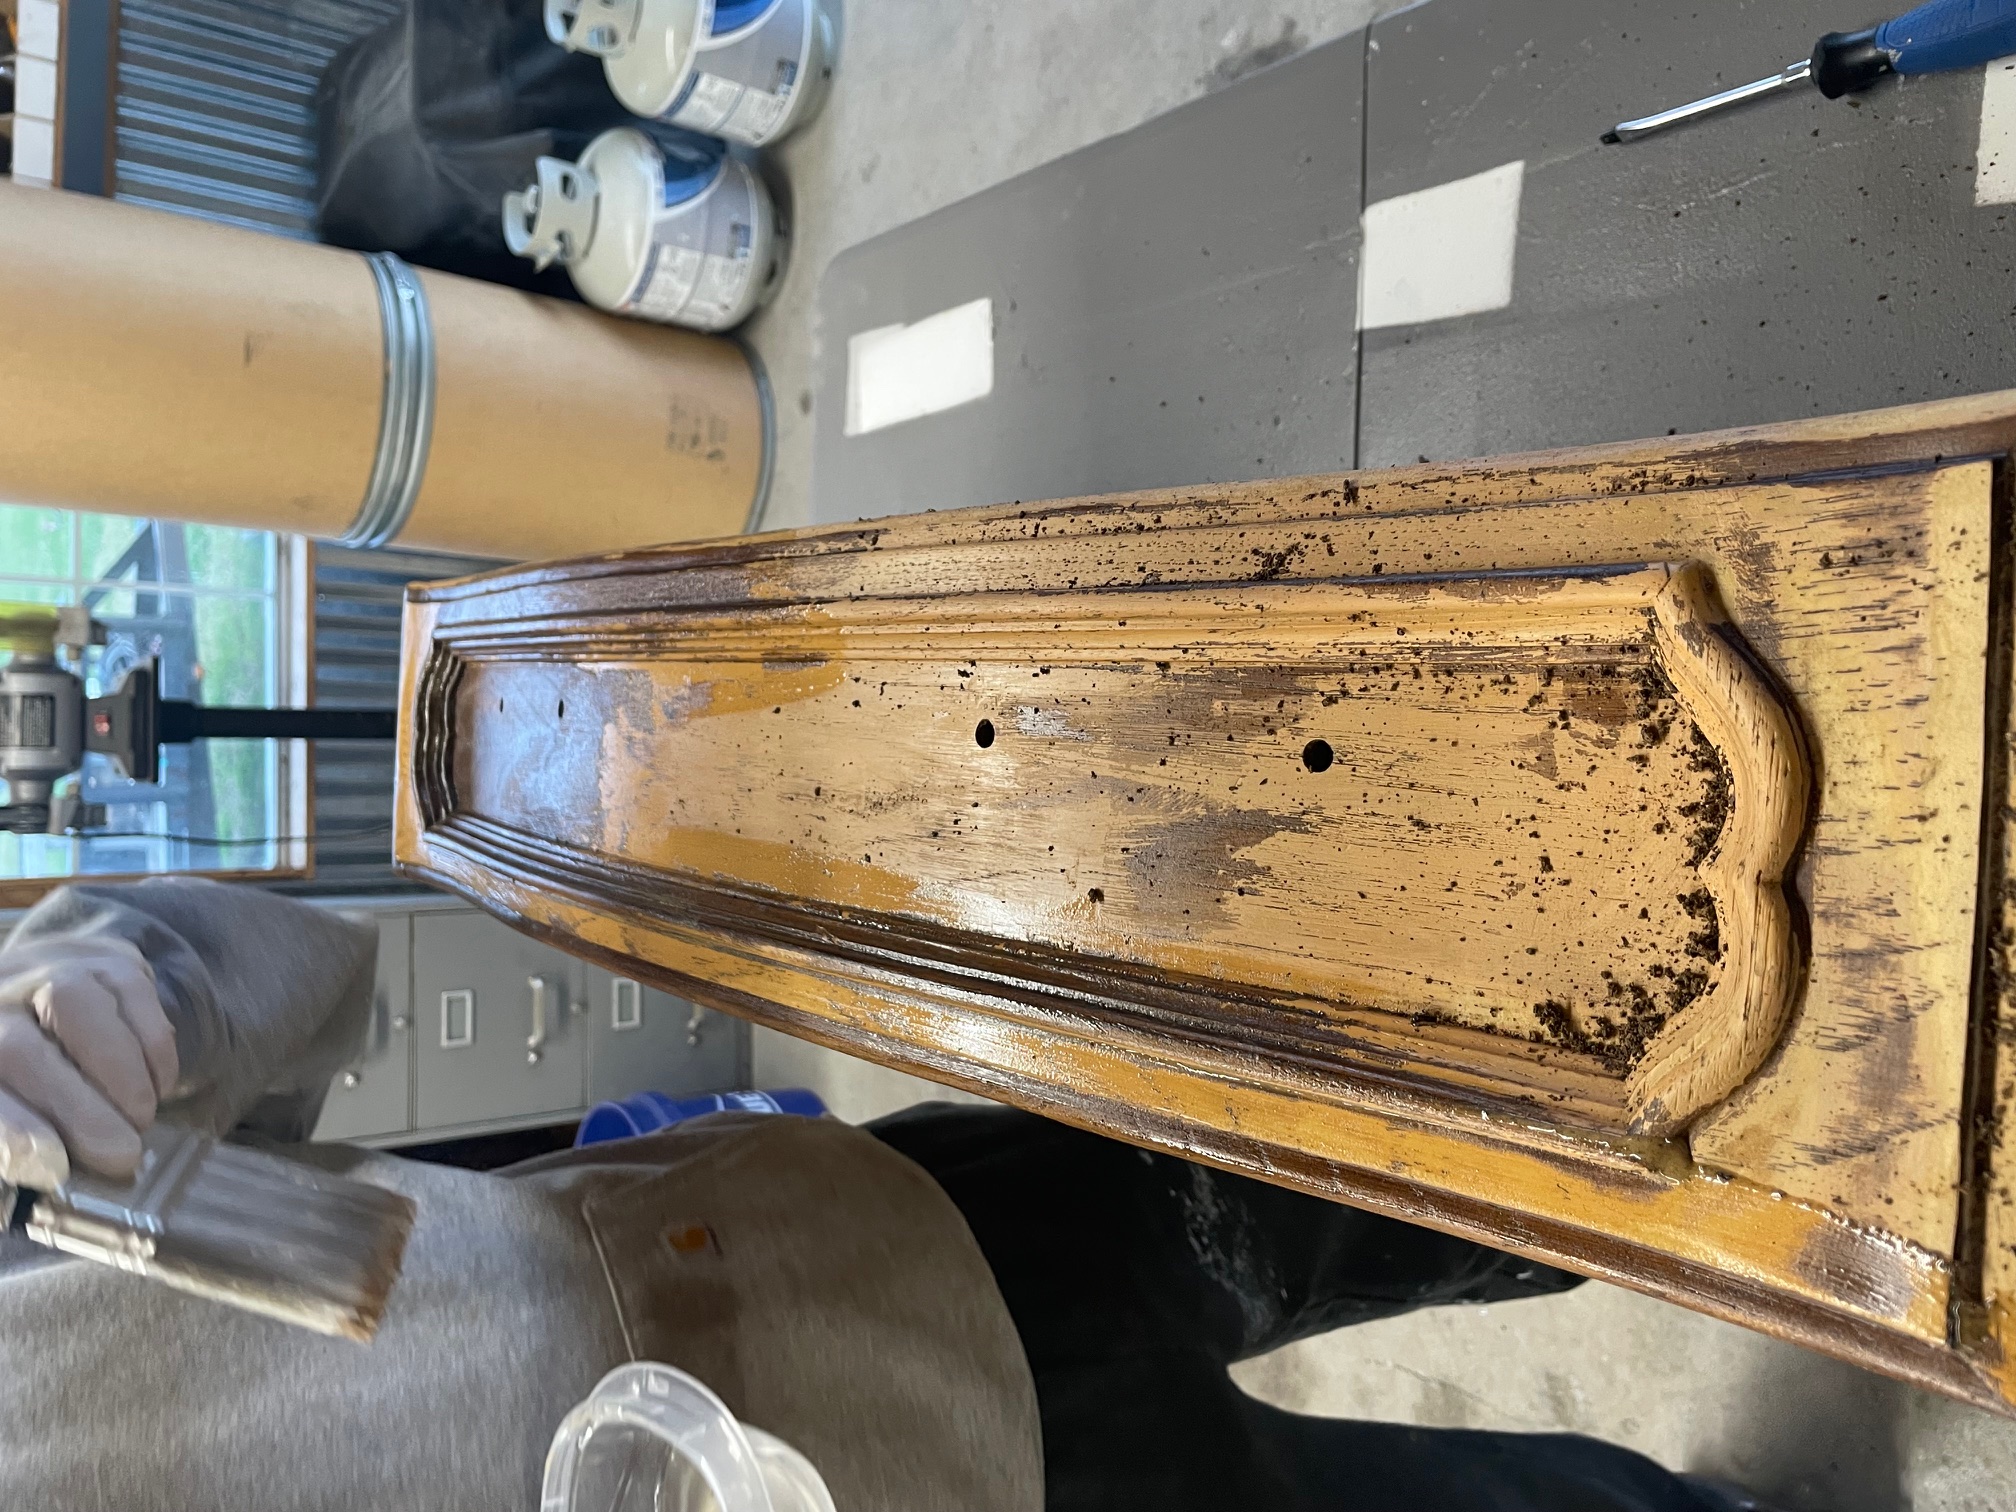
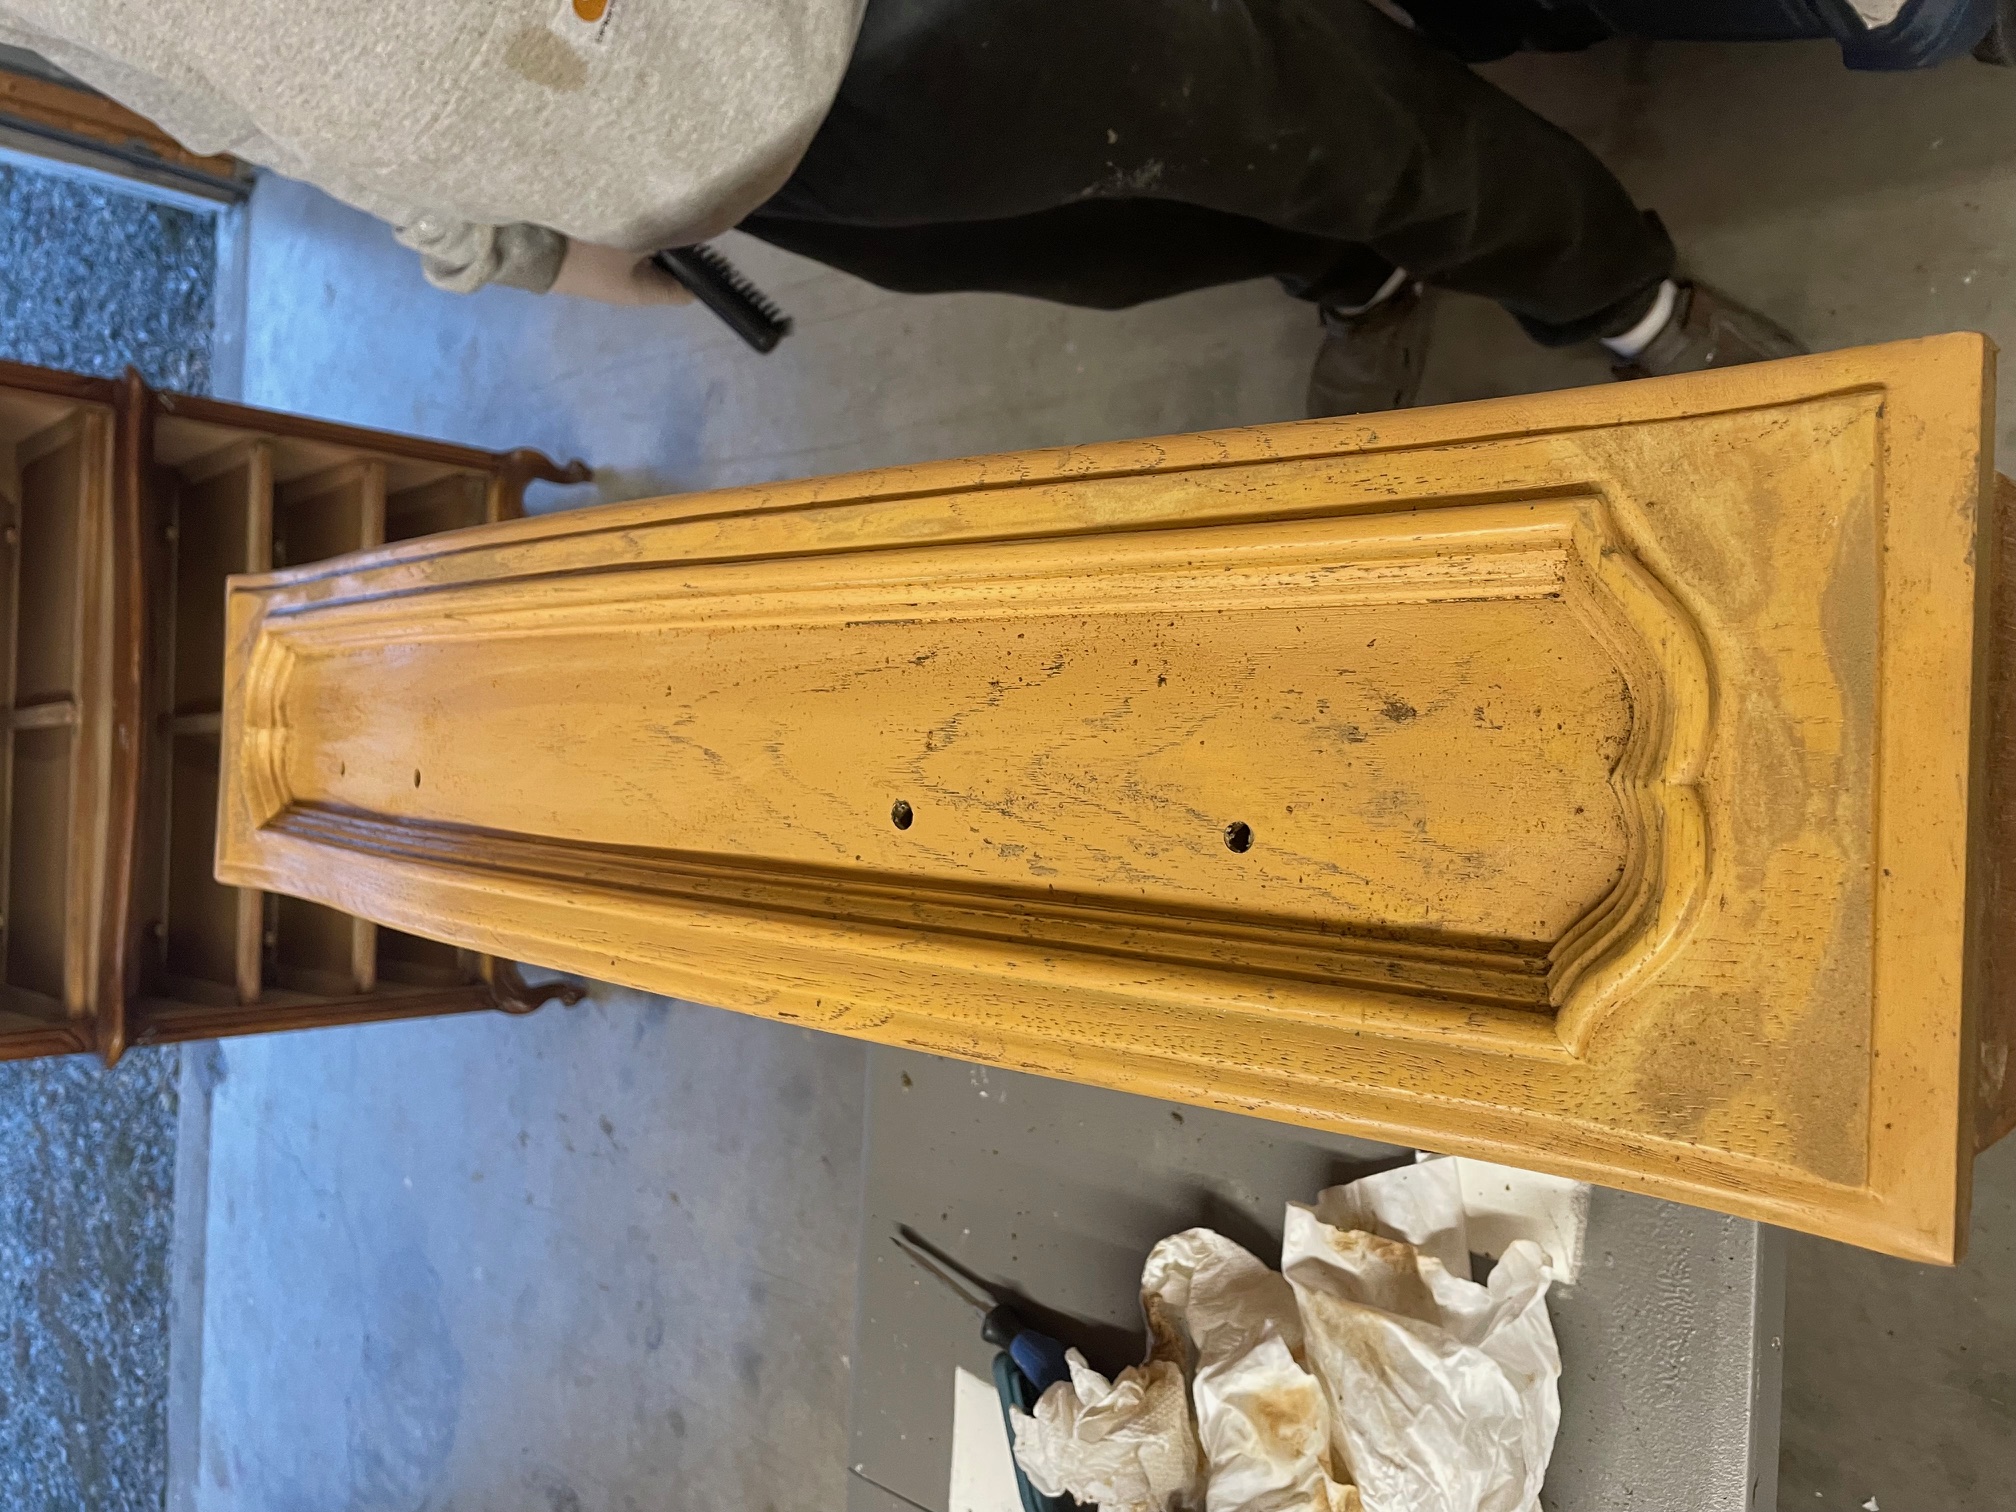
Next, I removed the drawers from the chester drawer and prepped them for paint stripping. To do this, I first removed the drawer hardware, in this case, the handles.
After this, we began to strip the paint from the drawers, using a chemical stripper, a wire brush, and sand paper.
And we did this for each drawer. All 6 of them...
After stripping the drawers, I removed the top of the chester drawer and prepped it for paint stripping and sanding.
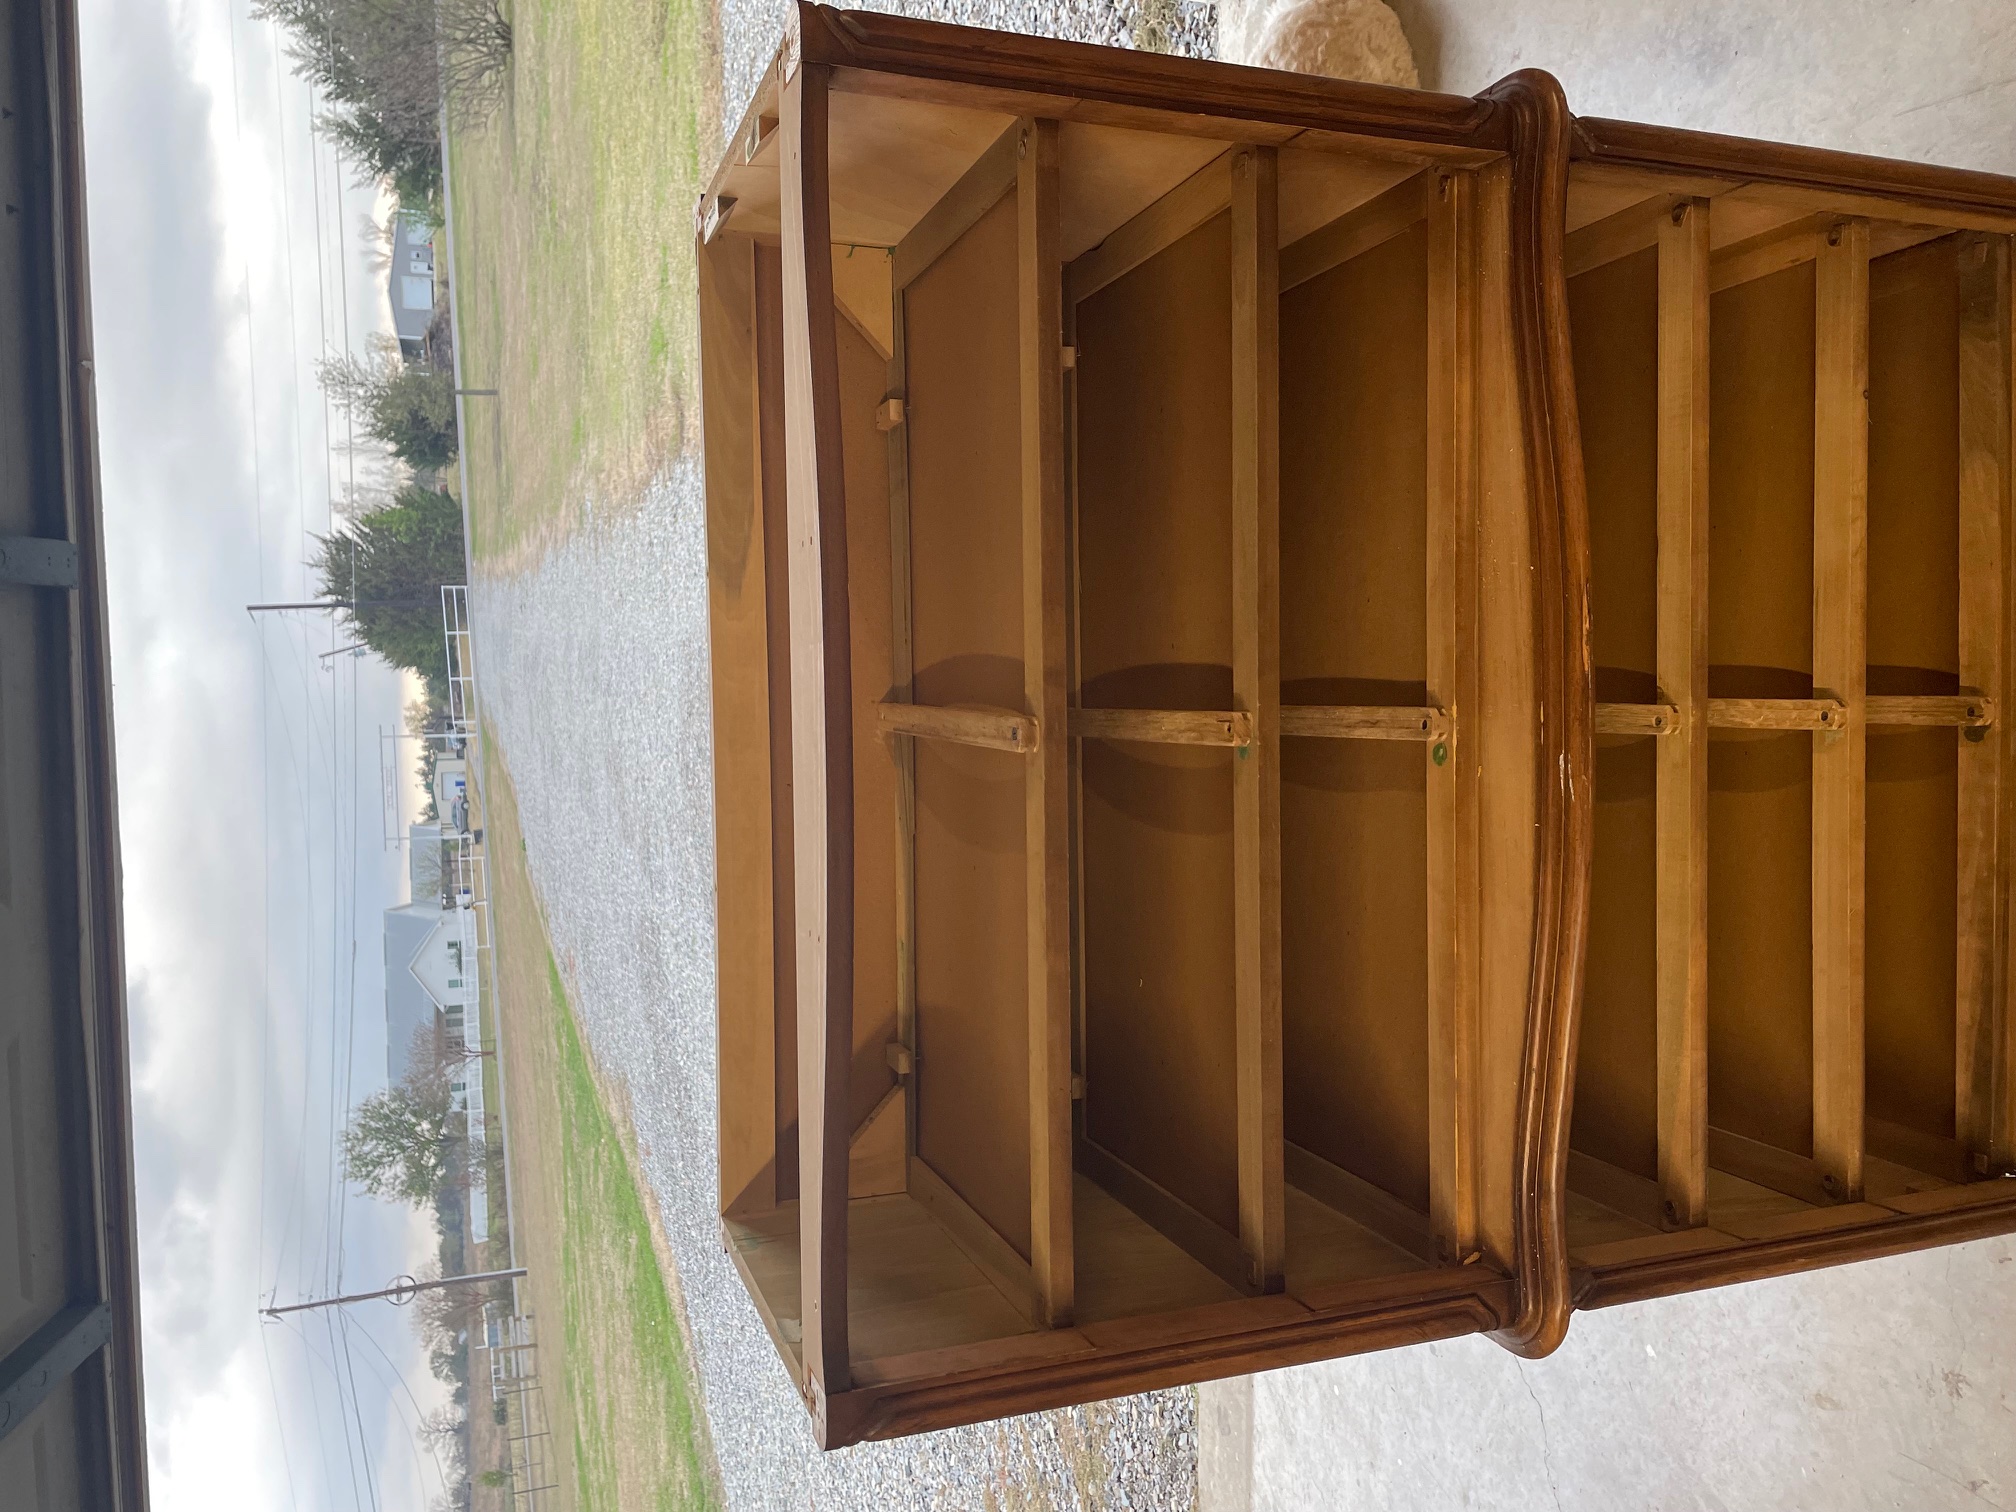
For the shell of the chester drawer, I repeated the process of stripping the paint and sanding the surface. I used the stripper for the more complicated parts of the shell and lightly sanded the easily accessible parts. Which, I forgot to take a picture of...
-
4 Priming & Painting
After sanding the shell and the drawers, I primed the surfaces with a spray can paint primer. This will help the paint adhere to the surface and prevent the paint from peeling off. It took 2 coats of primer to cover the shell and the drawers.

If you remember, the idea I am going for is a two tone look, with a light color on the outside and a dark color on the inside. So, my next step was to paint the shell an egg shell white, which is similar to an off white / beige color. Then, I painted the drawers a darker green color. To paint the shell and the drawers, I used a spray gun and a gallon of paint. This makest the painting process much faster but makes a bit of a mess compared to using a brush.


Final Product
Summarize the outcome. What does the project do now? Did it hit your goals? Any future improvements?